1. Fire up your NetBeans 7.0, and click File -> New Project from the Main Menu.
2. Select Maven from the Categories selection and Project from Archetype from the Projects selection, as shown in screenshot below:

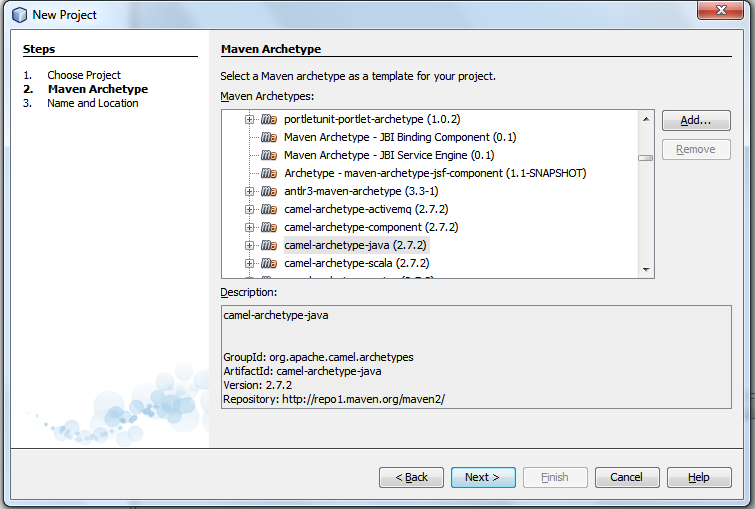
3. Click on Next, and in the Maven Archetype wizard. Under the Archetypes from remote Maven Repositories, search for camel-archetype-java (The version I am using is 2.7.2. You might be using a never version), and click on the next button. If it doesn't work for you, follow step 4. Otherwise, skip to step 5.
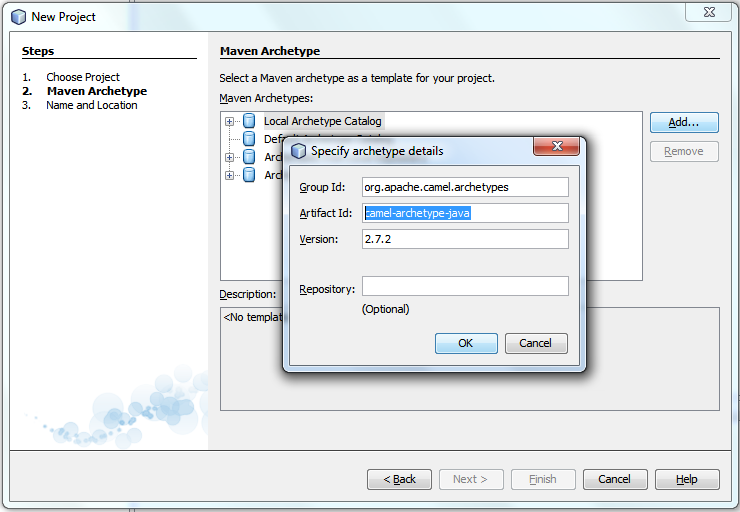
4. If you cannot find camel-archetype-java, you can enter it manually. Click on the 'Add' button in the Maven Archetype wizard page. A Specify Archetype Details dialog will appear. Enter details provided below, as shown in screenshot that follows:
Group Id: org.apache.camel.archetypes
Artifact Id: camel-archetype-java
Artifact Id: camel-archetype-java
Version: 2.7.2
Leave the Repository text box blank. Once done, click on the Ok button.
5. Click next on completion and you will be brought to the Name and Location page. Enter details as screenshot below (your Project Location may be different from mine):

6. Once done, click on the Finish button. It can take some time, especially this is the first time you are using maven, as it will download all the relevant jars, etc.
7. Once done, you can open up the MyRouteBuilder.java file created. That is basically the Route whose rules will be executed. The fragment of route source code is in the configure function as below:
from("file:src/data?noop=true")
.choice()
.when(xpath("/person/city = 'London'"))
.to("file:target/messages/uk")
.otherwise()
.to("file:target/messages/others");
This basically instructs Apache Camel to:
a) monitor for files in src/data folder (which is relative to your project folder. In my case is: d:\java\messaging\myfirst\src\data. noop=true is an option passed to the file: consumer and is used to instruct Apache Camel not to delete the file after it has finished processing.
b) Execute a choice, and using XPATH selector, select the content of the xml files, looking for person -> city element. If it is London, place the contents to target/messages/uk, otherwise, target/messages/others, again relative to your project path.
To run, right-click on the MyRouteBuilder.java in the Projects window, and select Run File. Log messages will appear in the Output tab.
You can always click on the Files tab (which by default, is to the right of the Projects tab in the left sidebar), and navigate to the folders mentioned above to look at where the message1.xml and message2.xml in src/data are placed into the destination target/messages/uk and target/messages/others folder.
Not bad for a start, right? This is a real simple way to work, especially coupled with the Spring Framework which takes care of instantiating MyRouteBuilder. In the next article, I would like to blog about how to create a cleaner Apache Camel Routes project that will not depend on Spring.
Nice
ReplyDeleteThanks!
DeleteWonderful!!! Thanks for this article.
ReplyDelete